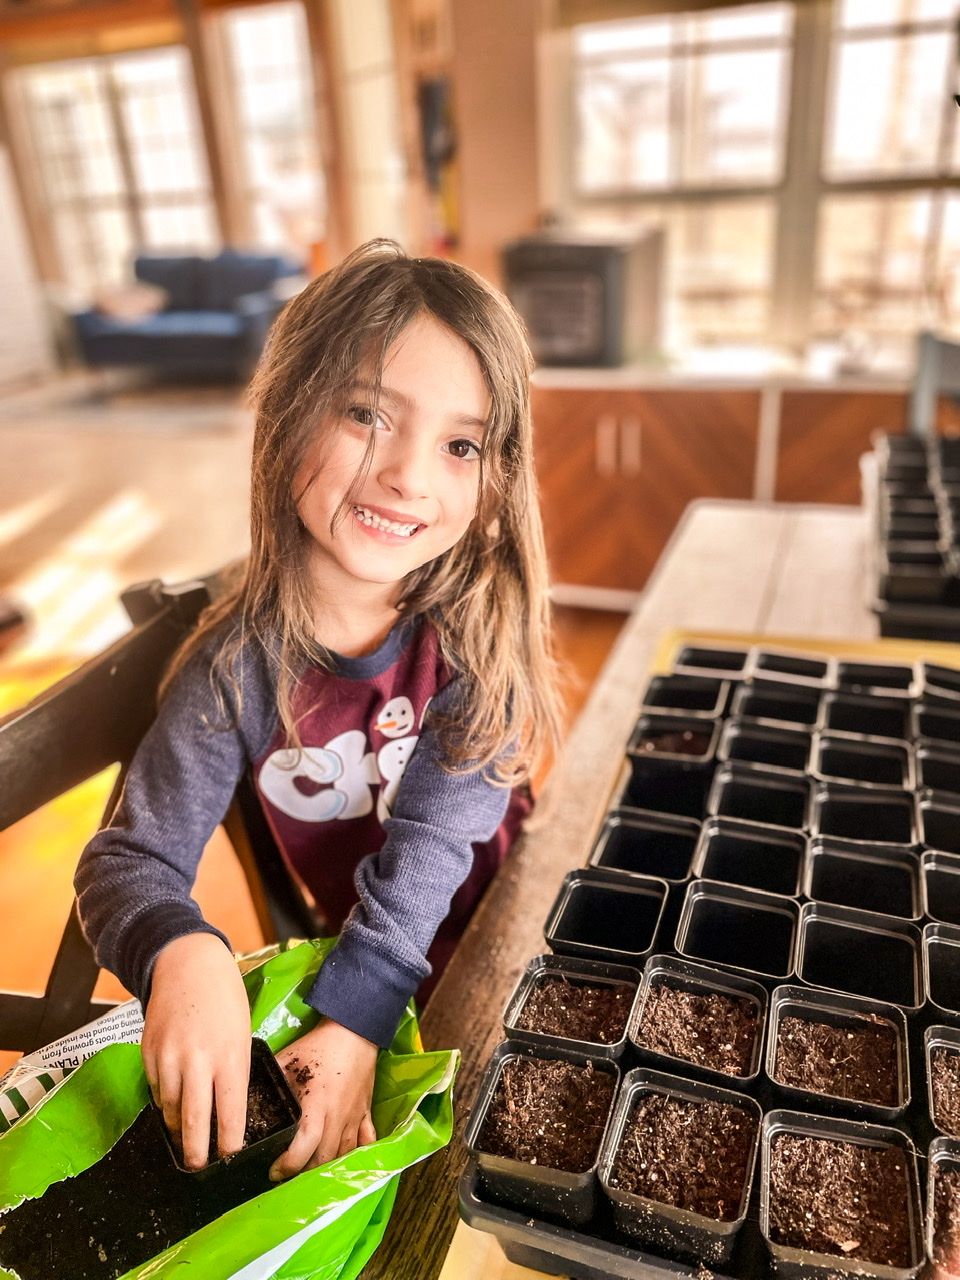
Starting plants from seed is a wonderful way to get your garden off to a great start. Not only will you save money by avoiding the high costs of buying from a nursery, but you can also choose from an array of varieties that may not be available locally. Starting seeds indoors gives you control over the whole process and lets you ensure a successful harvest come spring or summertime.
This guide will provide simple steps for starting your own seeds indoors so that when it’s time to transplant, they’ll have already given themselves a head start. With just some basic materials and supplies, anyone can become a gardener in no time!
The Right Conditions
First things first, you’ll need to find the right spot to start your seeds. You want your grow space to be in a place that will provide them with plenty of warmth and sunlight — which is especially important if you’re trying to encourage growth during colder winter months.
Starting your seeds on a shelf by a south-facing window is generally considered best. However, you shouldn’t get too caught up in placement if you don’t have a south-facing window available. Days are much shorter in the winter, so the likelihood that you will need supplemental light is high. Optimum plant growth happens when they receive 12 to 16 hours of light a day. While too much direct sunlight is a concern during the summer, you will not dry out or burn your fragile new plants until temperatures get warmer.
In order for a plant to germinate, soil temperatures need to be between 65 and 85 degrees. Some seed packages list the ideal temperature range for germination, while others don’t. If you’re unsure, it’s best to err on caution and aim closer to the lower end of that range — anywhere in the upper 60s is ideal.
Finally, make sure that there’s adequate ventilation so that air circulates around your plants easily. If your soil is too moist, your seedlings could “dampen off” and die. Indoor conditions are much easier to regulate than outdoors, and often just setting up a simple oscillating fan will prevent dampening off from occurring.
The Right Supplies
Now that you’ve found the perfect spot to start your seeds let’s talk about what supplies you’ll need. Starting seeds doesn’t have to be expensive or fancy; however, investing in durable materials upfront can save you costs in the long run.
Containers
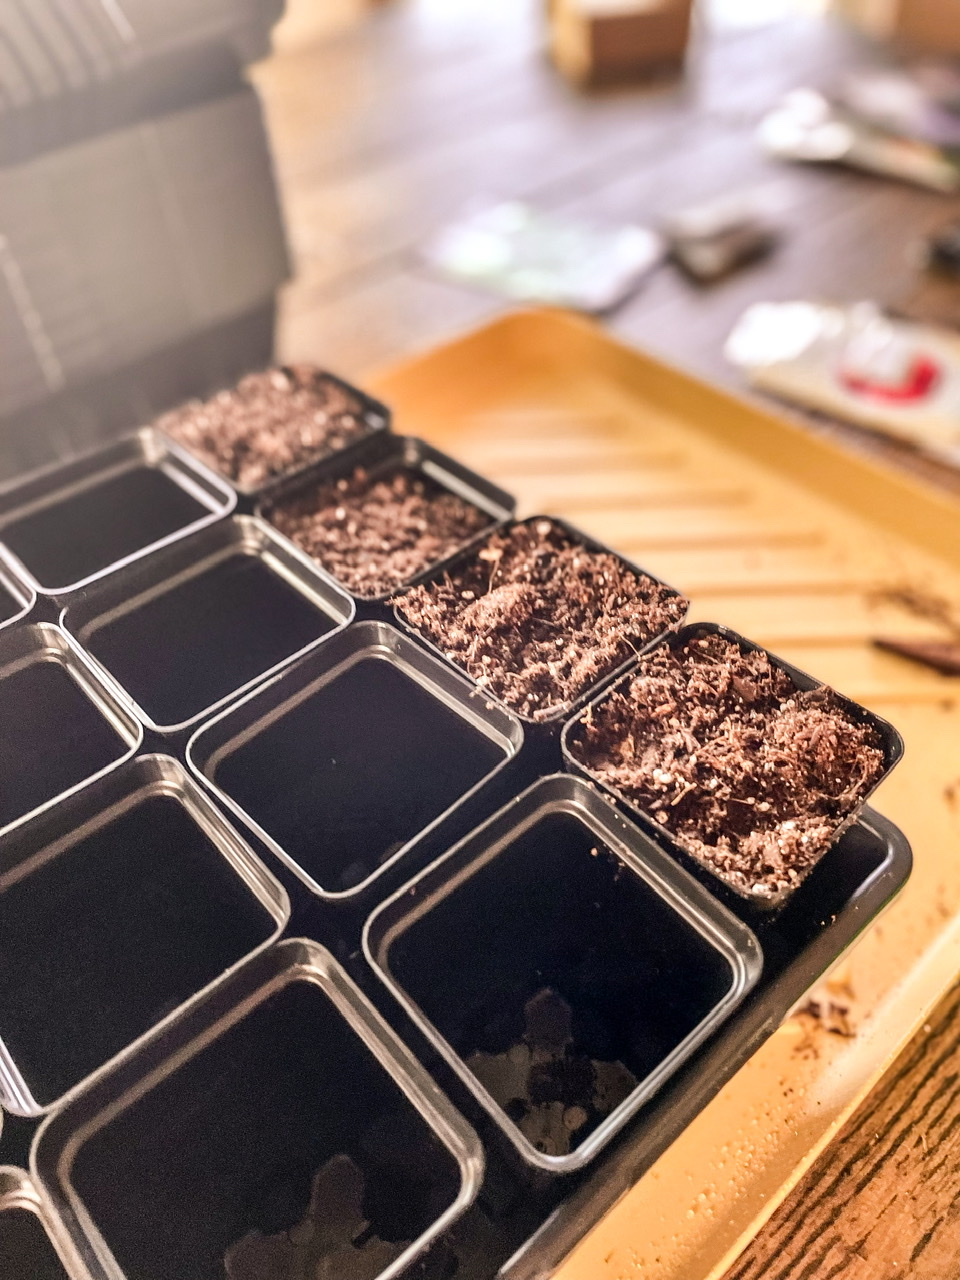
It’s important to have adequate planting containers when starting seedlings. If you are looking to reuse and save money, you can start seeds in toilet paper rolls, egg cartons, and old yogurt containers (if using yogurt containers, make sure there are drainage holes drilled into the bottom). This does take some preparation and planning, especially if you are starting most of your seeds and have a large garden.
On the other hand, seed starting kits can be found at big box stores like Walmart and Home Depot. These often come with trays, potting mix, and a humidity dome to make seed starting foolproof. The downside to these kits is that they are typically not high quality. You can expect most of these to last anywhere from a year or two before you will be looking to replace them.
If you plan on starting seeds every year, your best bet is to invest in commercial-grade equipment built to last several seasons. Bootstrap Farmer is an amazing, family-owned company that sells heavy-duty seed starting tools that are made to last. After having my previous amazon trays disintegrate after two years, I invested in these 1020 trays and starter pots. While cell seed planting trays allow you to plant up to 72 seedlings in one 1020 tray, they will need to be up-potted a few weeks after sprouting so that they don’t get root-bound. By starting with trays that have a depth of 3 inches, I bought myself more time before they need to be re-potted.
Quick tip: Make sure you check that your 1020 trays don’t have holes. You want ones without so that you can bottom water to prevent disease.
Potting Mix
Many people believe that, when you start seeds, you need to include fertilizer. This simply isn’t true. Most seeds are fairly low-maintenance, and many don’t even need light to germinate. Fertilizer should only be applied 4-6 weeks after a seedling has germinated. Any sooner and you risk burning your seedlings which can easily result in their demise.
To start, you need potting soil. Make sure you buy a seed starting mix, as it is specially formulated for seeds. Standard potting soil can contain pathogens that can damage roots and prevent germination. The best mixes include peat moss, coconut coir, perlite, or vermiculture. Watch out for mixes with too many twigs. My personal opinion is to stay far away from Miracle Grow – it may work for some, but my seedlings have never thrived when I have used their seed starting mix. My preferred brands include Fox Farm, Expert Gardener, and Pro-Mix.
Shelves
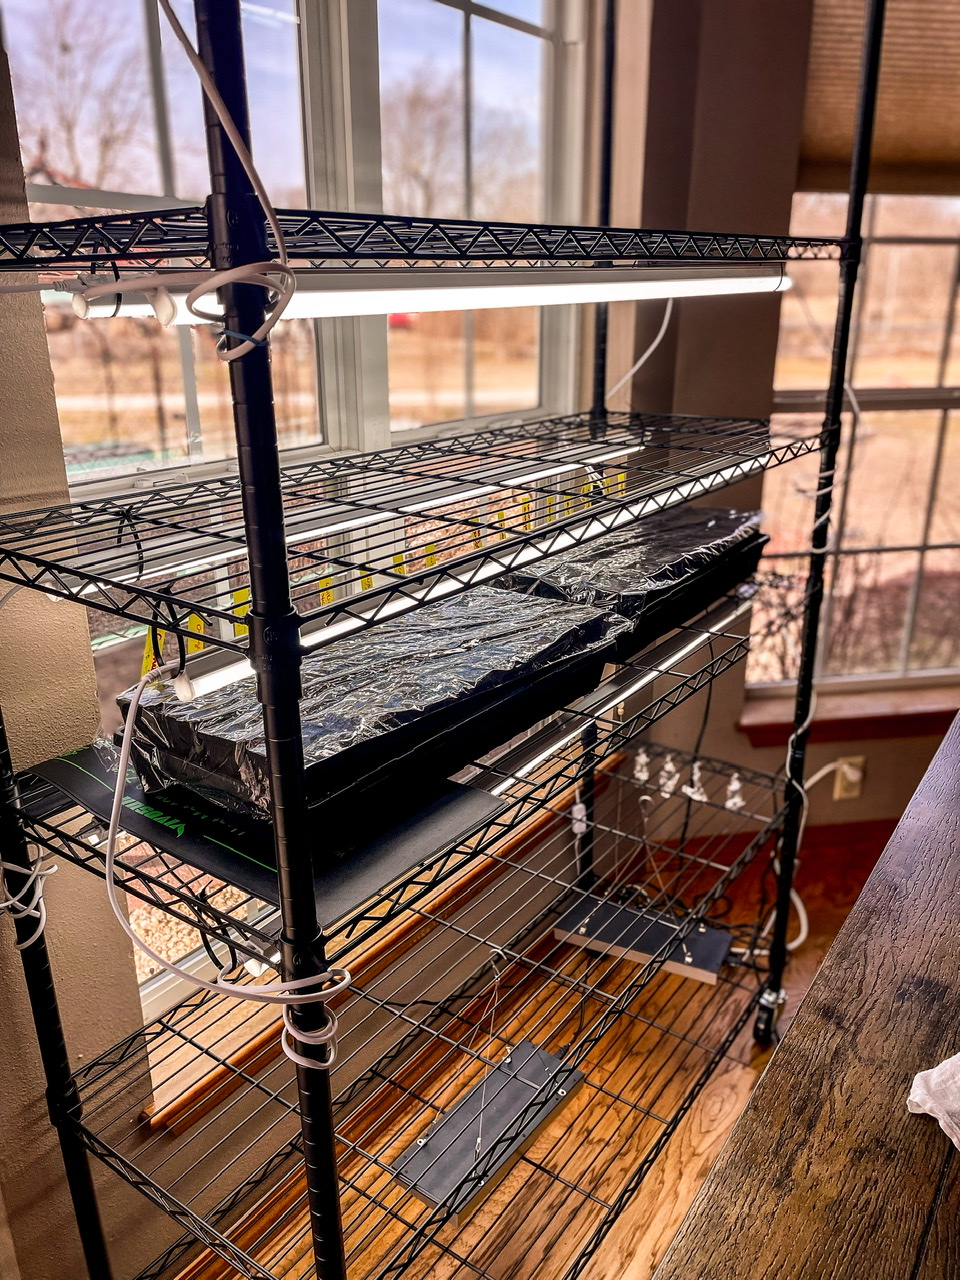
Understandably, most people do not have a greenhouse to start their seedlings. While that is my dream, for the past few years, I’ve used various wire racks to house my 1020 trays. My favorite by far has been this version. Not only is it on casters, so it’s easy to move, but the shelves are also adjustable. This allows me to raise and lower my grow lights as needed based on plant age/height.
If you’re on a strict budget, there’s no need to shell out tons of money for a wire rack. In my first year of growing, I bought a small plastic greenhouse that I found for $10. I stuck it in a corner of my house, used the single grow light that I had, and ran a fan. The plastic covering was great for humidity, and I didn’t have to purchase any humidity domes. That year was very successful and I think I probably spent about $60 in supplies, seeds included.
Grow Lights
Grow lights are also something I have experimented with. For the sake of frugality, I currently use cheap shop lights. They can be found anywhere from Amazon to Walmart and, assuredly, won’t break the bank.
If I feel like my seedlings need a little extra love, I do have specific grow lights that use both red and blue light. Red is helpful for photosynthesis, while blue helps establish growth.
Both lights are easily attached using zip ties and, when the season is over, the lights are able to be easily stored.
Plant labels
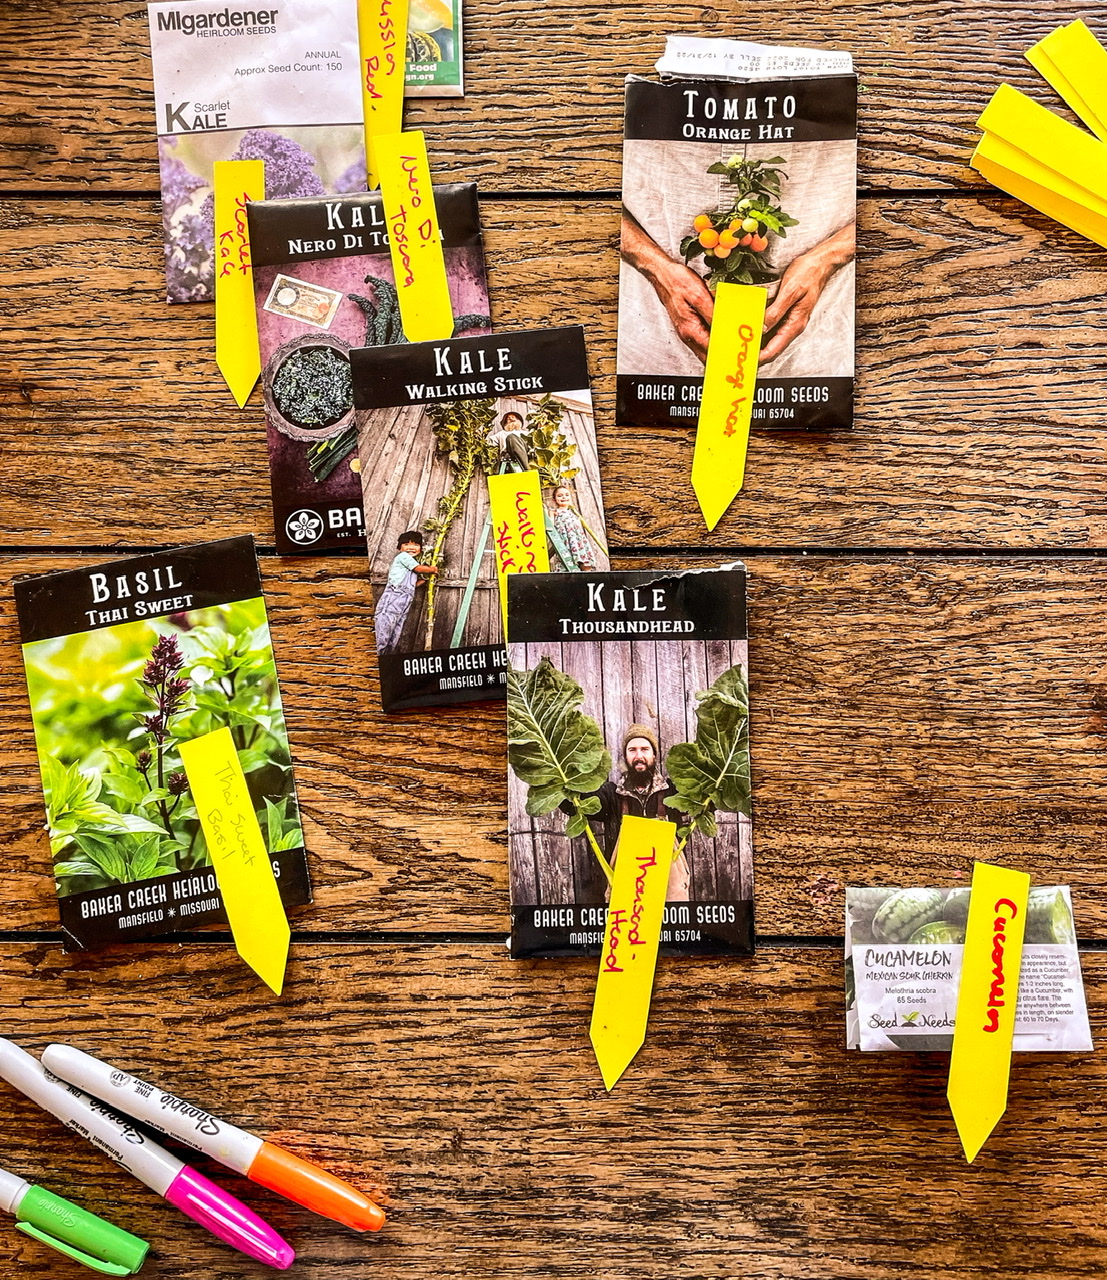
There is nothing more frustrating than getting your plants mixed up and not knowing what variety you are growing. Relying on memory is a mistake! I quickly learned that plant labels are a must. You can use anything from spoons to plastic tags. Just make sure that you use a waterproof marker to label. I like to reuse mine from year to year when I find veggies that I know I will always have in my garden.
Heat mat
Additionally, consider investing in a heat mat — this will help keep the soil warm so that your seeds are able to germinate faster. This is especially helpful with plants like peppers which need the heat to germinate.
Be careful and pay attention to what plant you are growing. Cool-weather crops, such as kale and lettuce, don’t need a heat mat in order to germinate. In fact, when grown over a heat lamp, they often struggle.
I grow hundreds of tomatoes and tons of pepper every year. I invested in two heat mats fairly early on and have never regretted spending that money.
Humidity Dome
Finally, humidity domes are a great way to keep your newly sprouted seedlings moist while germinating. They come in various sizes and, when the season is over, can be used as storage containers for other supplies.
Now wanting to spend money on a humidity dome? You can do what I do – use saran wrap! Not only is it infinitely cheaper, but I know to remove it when the seedlings hit the plastic. When you have a humidity dome, it can be harder to gauge when it is necessary to remove it.
At the end of the season, I fold my saran wrap up and reuse it the following year. Since I’m starting seeds inside, the wear and tear are typically minimal.
Suggestion – potting tray
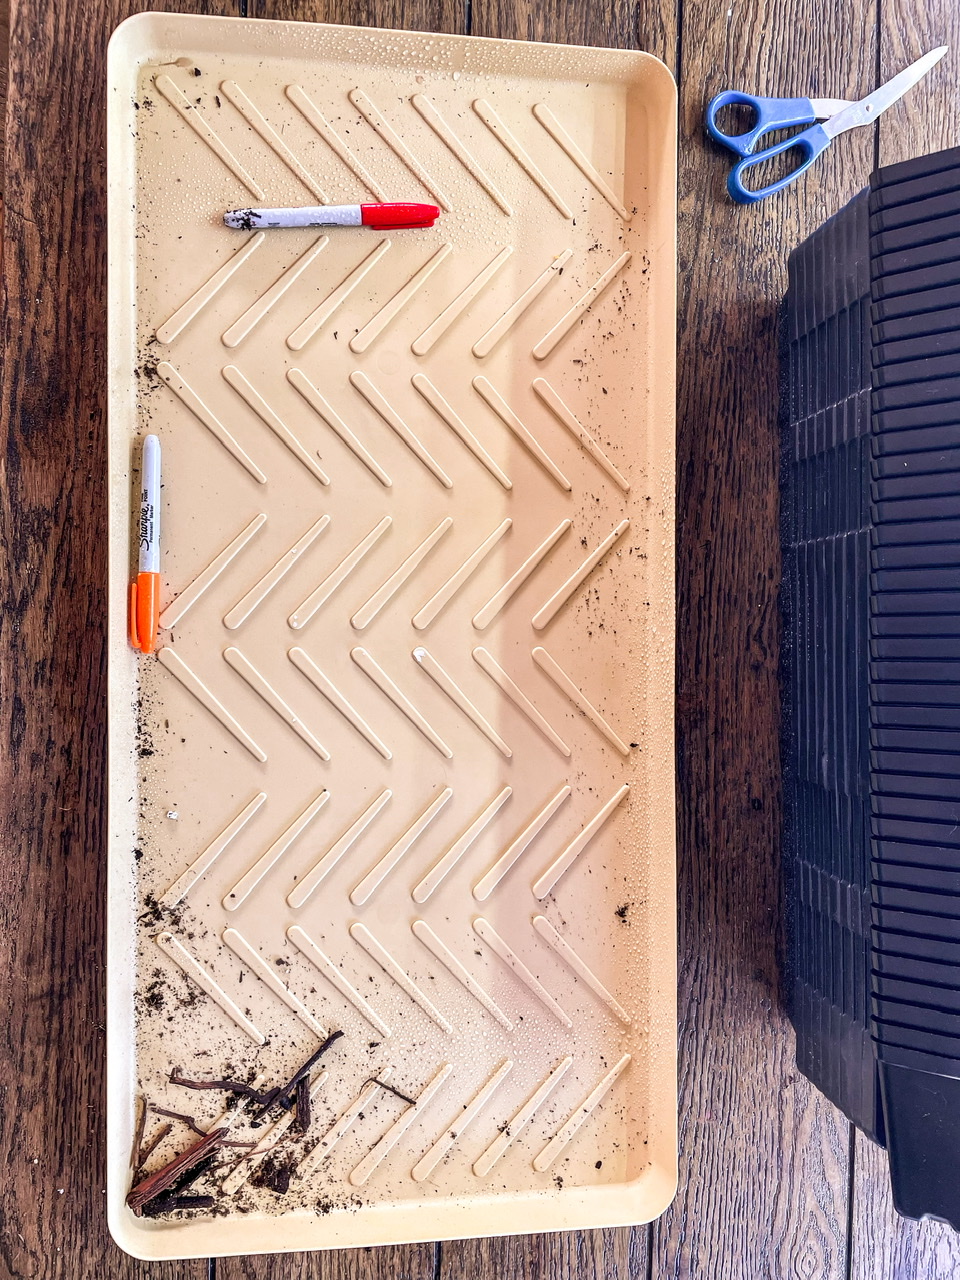
Starting seeds can be messy. I like to use my kitchen table to set all my supplies out, but I’m always looking for ways to minimize the mess. I’ve been looking for a potting tray that I like for years. At the same time, I was not willing to shell out 50+ dollars for a piece of plastic. Instead, I found a boot tray for $8 at Aldi. It gives me plenty of space to work and, when I’m finished, I can take it outside and clean it off easily.
Planting With Care
It’s finally time to get started!
Once you have everything set up, fill each cell or pot with potting soil about two-thirds full (leave some room for watering). I like to soak my soil first in water to ensure easy germination. Additionally, I put my 1020 trays on a heat mat after filling my pots with soil and let them sit for a few hours. This ensures that my soil is warm enough to support germination.
When you plant your seeds, you will make small divots about twice as deep as the height of each seed. Plants like squash will be planted deeper while you may merely sprinkle seeds, like lettuce, at the surface and cover lightly with potting soil.
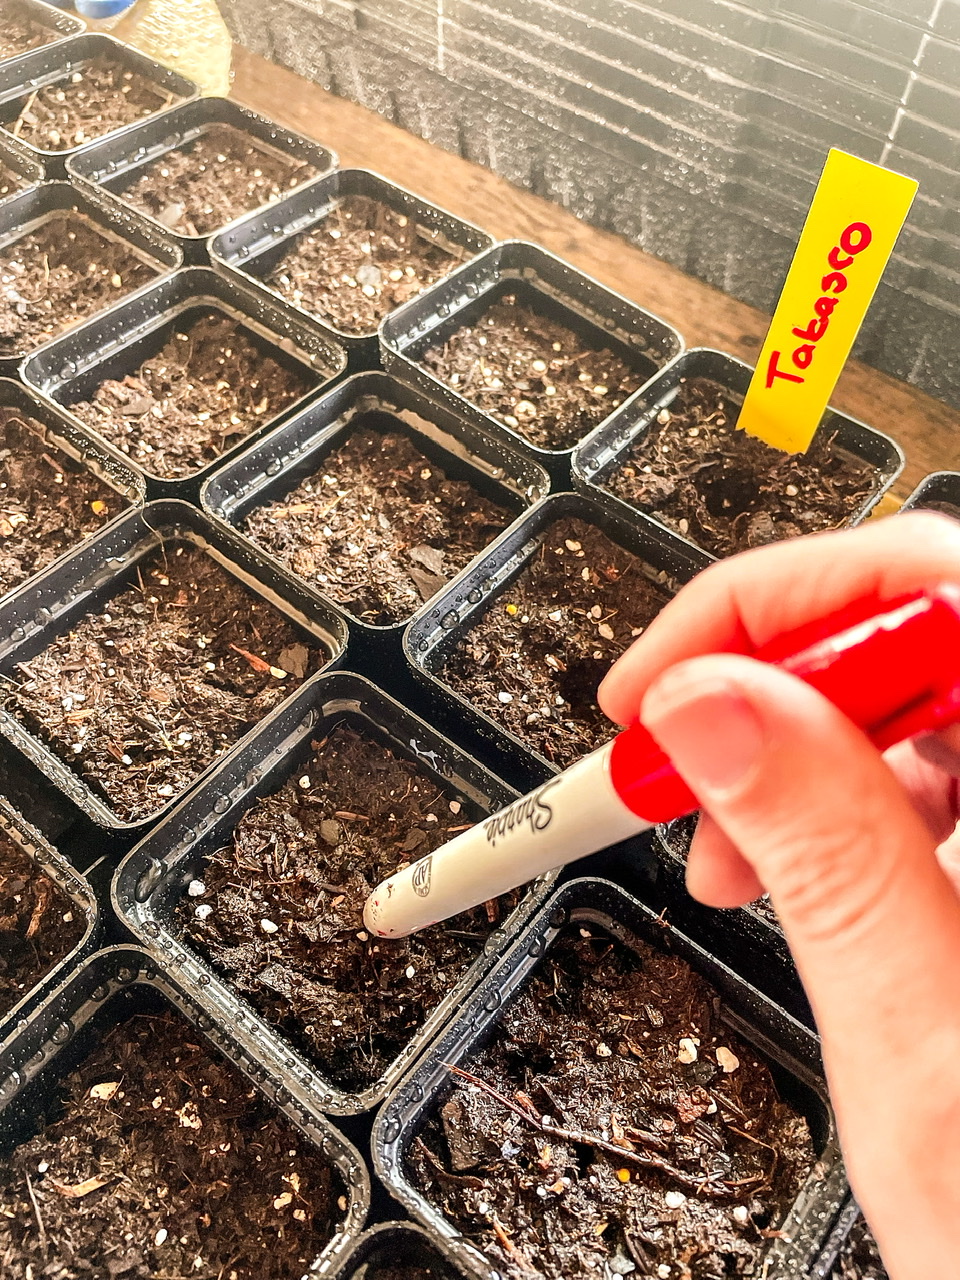
Place at least two seeds in each hole and cover them with dirt. By planting two, you are making sure that if one seed isn’t viable for some reason, you have another to replace it.
Finally — and perhaps most importantly — water your seeds carefully but generously. I use a garden sprayer until a seed germinates at, which point, I switch to bottom watering. After planting, cover your pots with your humidity dome or saran wrap (this will help maintain moisture).
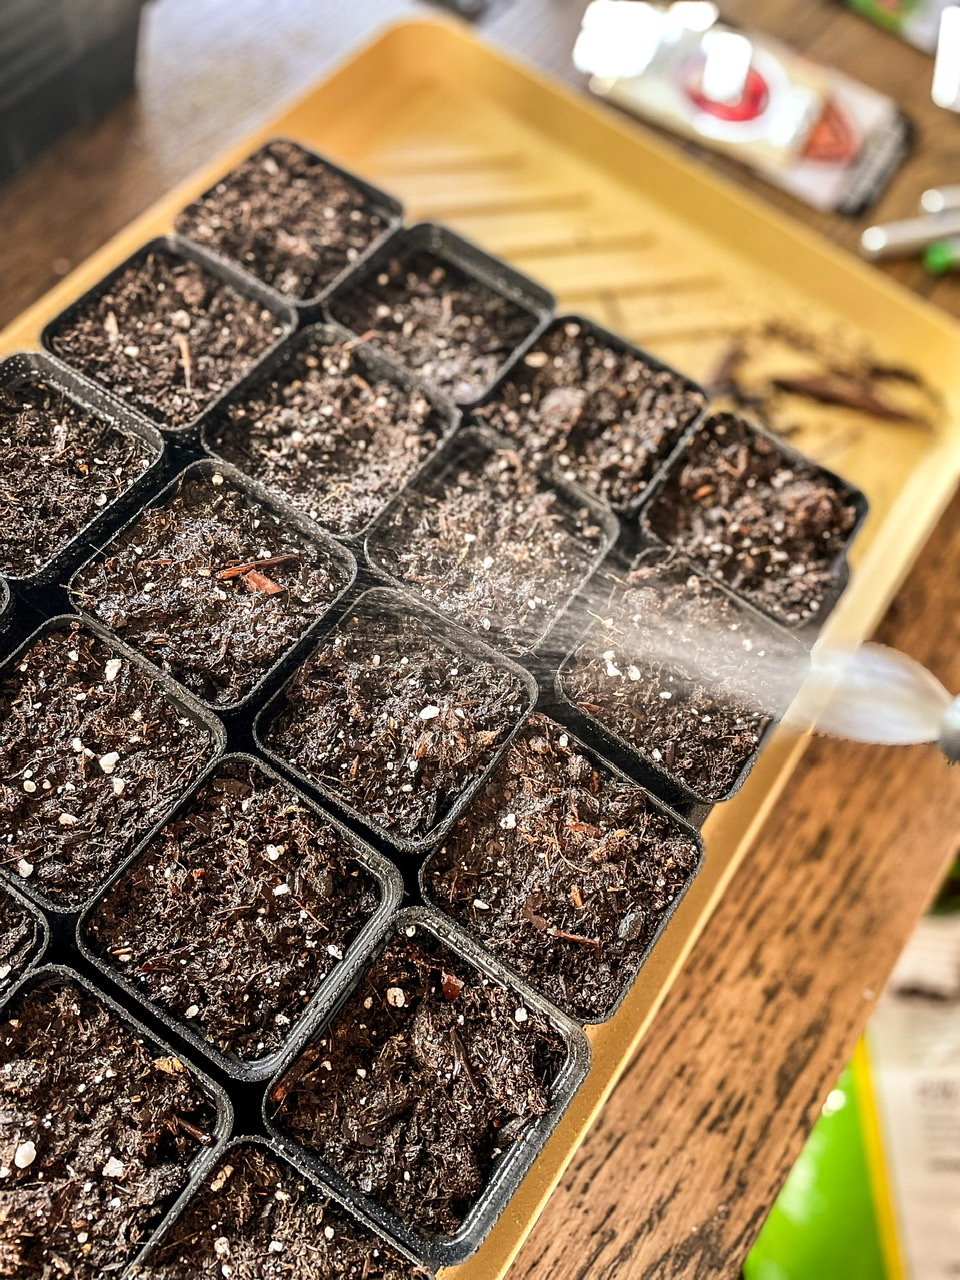

Seed starting indoors
Planting with care and attention to detail is essential for successful germination of seeds. With the right supplies, you can create an optimal environment for your seedlings. Additionally, be sure to soak your soil beforehand and pay attention when planting – make small divots about twice as deep as the height of each seed and place at least two in each hole. Finally, water generously but carefully until a seed has germinated then switch to bottom watering. Following these tips will help ensure healthy growth that leads to a bountiful harvest!
