

With spring just around the corner, it is time to start one of our favorite practices – starting seeds.
Starting seeds is not at all difficult and can be done in a variety of different ways. Some people use a greenhouse or high tunnel, but it is simple enough to set up a few wire racks in a spare room to get started. While the initial startup cost can be high, the essentials you need can often be repurposed/reused.
This year, we have started our tomatoes, peppers, and flowers indoors. With our weather falling unpredictably below 0, it seemed to be the safest option. In order to start we purchased shelving units, high-quality potting soil, 1020 trays, shop lights, and 72 cell seedling trays.
One of the issues we ran into last year was starting too early and having many of our tomatoes and peppers become rootbound. After researching various methods, we invested in a soil blocker this season. A soil blocker allows roots to air prune which prevents the seedling from becoming root-bound. While we can’t attest to the success of this method yet, the peppers we have started in the soil blocks look healthy and germinated quickly.
Why start indoors?
There are two main things that are important to consider when preparing your garden. The first is the length of your growing season. Being in 6b, we have a longer growing season with our last frost date projected to be in May and our first frost projected to be in October. This gives us quite a bit of leeway when deciding if we would like to direct sow or start indoors.
Secondly, you need to consider how quickly you are looking to harvest. There are tons of crops out there that you can grow and will produce within 45-60 days such as various beans, lettuces, and kale. However, we are looking to sell at our local farmer’s market. Big ticket items, such as tomatoes, typically produce as late as July when direct sown. This requires us to start early so that we are planting mature seedlings after our last frost date and not seeds that have yet to germinate.
1st Method – Planting in Trays

Many people prefer to plant in seedling cell trays. Not only is it a cost-effective if you invest in a heavy duty one (which you can reuse and can last you years) but it makes the most sense if you are short on space. Each tray is 10 inches across and 20 inches long; that means you can start 72 seeds in almost two feet of space.
The one, main drawback is those seedlings you plant? When you start early, eventually, you are going to have to up-pot them. In order to ensure that you are growing a healthy specimen, those roots need space to grow or they will circle around the container. While you are saving resources to being with, eventually you will need more space/pots/soil.
We recommend that you only growing plants in the 72 seedlings cell trays that you are able to transplant outside before your first frost date. This includes kales, broccoli, lettuce, spinach, and cauliflower. This circumvents the need to transplant in bigger containers and you are able to save some of your garden budget.
Supplies
- 1 bag of organic potting soil
- 10 72 seedling cell 1020 trays
- 10 1020 trays without holes
- 1 shelving unit (make sure to measure to ensure 1020 trays will fit)
- Seeds
- Multipurpose Sprayer
- Optional – Humidity Dome
- Plant Labels
- Permanent Marker
How to –
Using an organic potting mix, fill all 72 holes with soil and spray with water. Check to make sure that soil is damp all the way through, then label each row with your garden labels to reflect what seeds you will be planting. Review your planting instructions on the back of your seed packet to account for depth and before planting. Typically, we put two seeds in each hole to account for poor germination unless I know the variety has a germination rate of over 90%.
After covering the seed, mist with water. While most seeds don’t need light to germinate, we go ahead and hang our shop lights around two inches above the tray. You can also us a humidity dome to help trap moisture. Your seeds will need to be consistently damp in order to sprout and we have had a lot of issues without soil drying out quickly without the domes. Once the seeds have sprouted, remove the humidity dome.
Most people will find it efficient to water once a day with a multipurpose sprayer. However, you don’t want to use the multipurpose sprayer after sprouting has occurred. Instead, each 72-seedling cell tray needs to be placed in a 1020 tray with no drainage hole and bottom watered. This lessens any complications from fungus or fungus gnats which tends to live in damp soil.
2nd Method – Soil Blocking
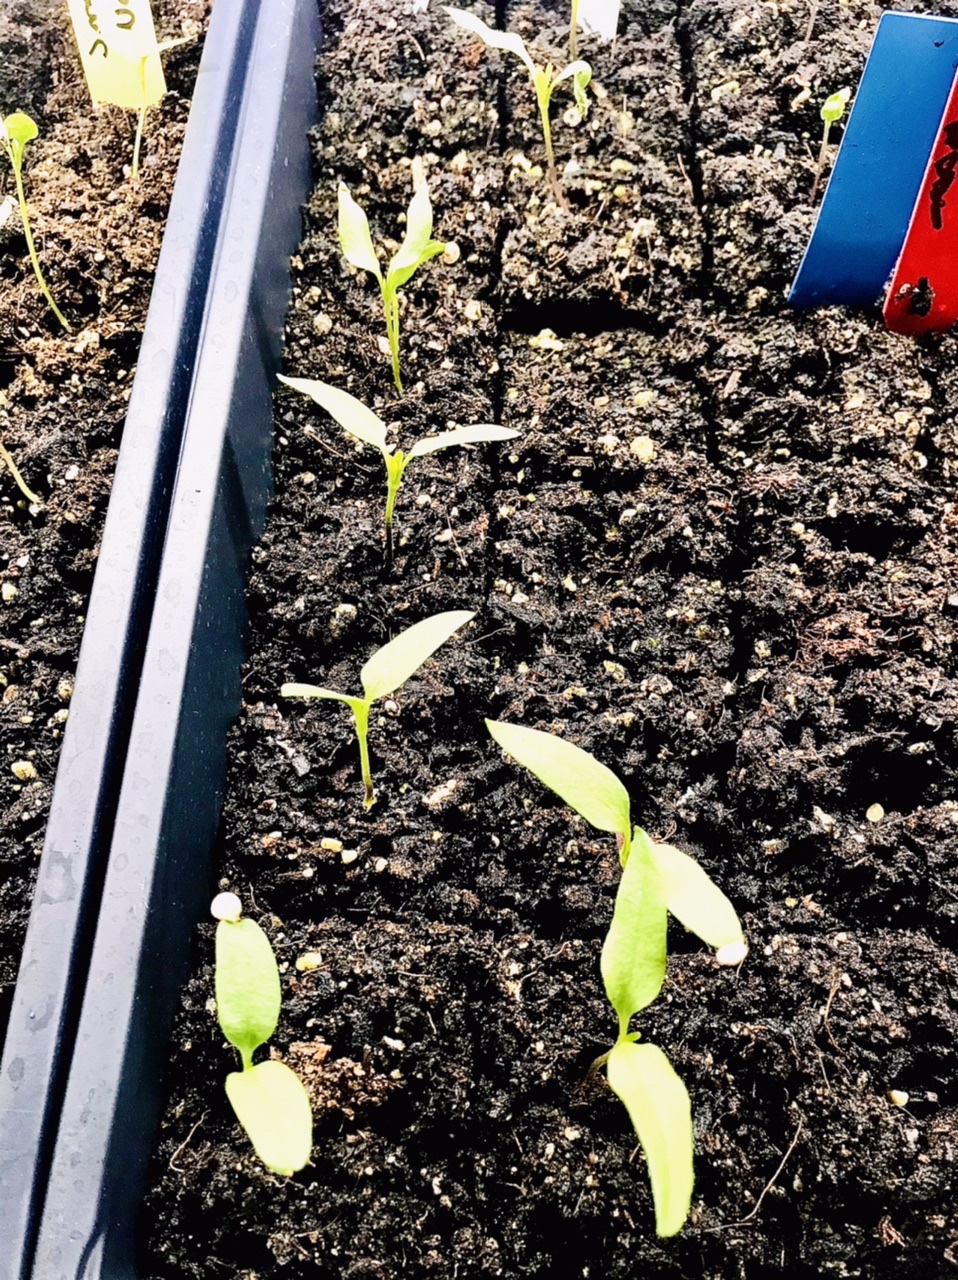
Soil blocking is much like it sounds – you are planting your seeds in blocks of soil. Each soil block will have a stamp in the center that creates an indentation in the block that you can drop your seeds into.
This method cuts down on the amount of plastic you are using as well as the need to buy different sized of nursery pots. However, soil blocking takes up more space. Each 1020 tray can hold a maximum of 50 soil blocks.
If you start early enough, you will still need to move your seedlings to a bigger soil block. We recommend this method for plants such as tomatoes, peppers, and egg plants. They typically transplant well and using the blocks help prevent the seedlings from becoming rootbound.
What you need –
- 1 bag of organic potting soil
- 1 bag of peat moss
- 2” soil blocker
- 10 1020 trays without holes
- 1 shelving unit (make sure to measure to ensure 1020 trays will fit)
- Seeds
- Multipurpose Sprayer
- Optional – Humidity Dome
- Plant Labels
- Permanent Marker
- Optional – Heat Mat
- 95 Quart Plastic Tote
How to –
Using an organic potting mix, fill all 72 holes with soil and spray with water. Check to make sure that soil is damp all the way through, then label each row with your garden labels to reflect what seeds you will be planting. Review your planting instructions on the back of your seed packet to account for depth and plant. I typically put two seeds in each hole to account for poor germination unless I know the variety has a germination rate of over 90%.
There is no need to cover the seed using this method. After hanging our shop lights two inches above the tray, cover with a humidity dome. Your seeds will need to be consistently damp in order to sprout. Once the seeds have sprouted, remove the humidity dome.
We have found that it is best to mist the top of the soil block until the seed has rooted; we then switch to bottom watering. The real trick is in the mix; if you let it dry out or water from the top you soil block can disintegrate.
0

