

Tomatoes take maintenance. If you are looking to improve production and longevity, you will need to be pretty hand-on with your gardening.
One step that gets overlooked is pruning. Tomatoes will certainly produce if you neglect to prune them, but the plant will often grow sick with blight in the late summer heat and will often begin struggling sooner.
Pruning accomplishes several different things. First of all, it increases air flow which helps prevent disease. Secondly, by pruning at the base of the plant, you are able to decrease the amount of splash-back on the leaves. Pruning can increase the chance that your flowers will get pollinated, and allows more insects the chance to reach them.
If a plant gets too dense (which tomatoes can do quickly) leaves that are shadowed are unable to perform photosynthesis. Most plants need 6 to 8 hours of direct sunlight to produce sugar. These leaves will yellow and invite various diseases into your garden.
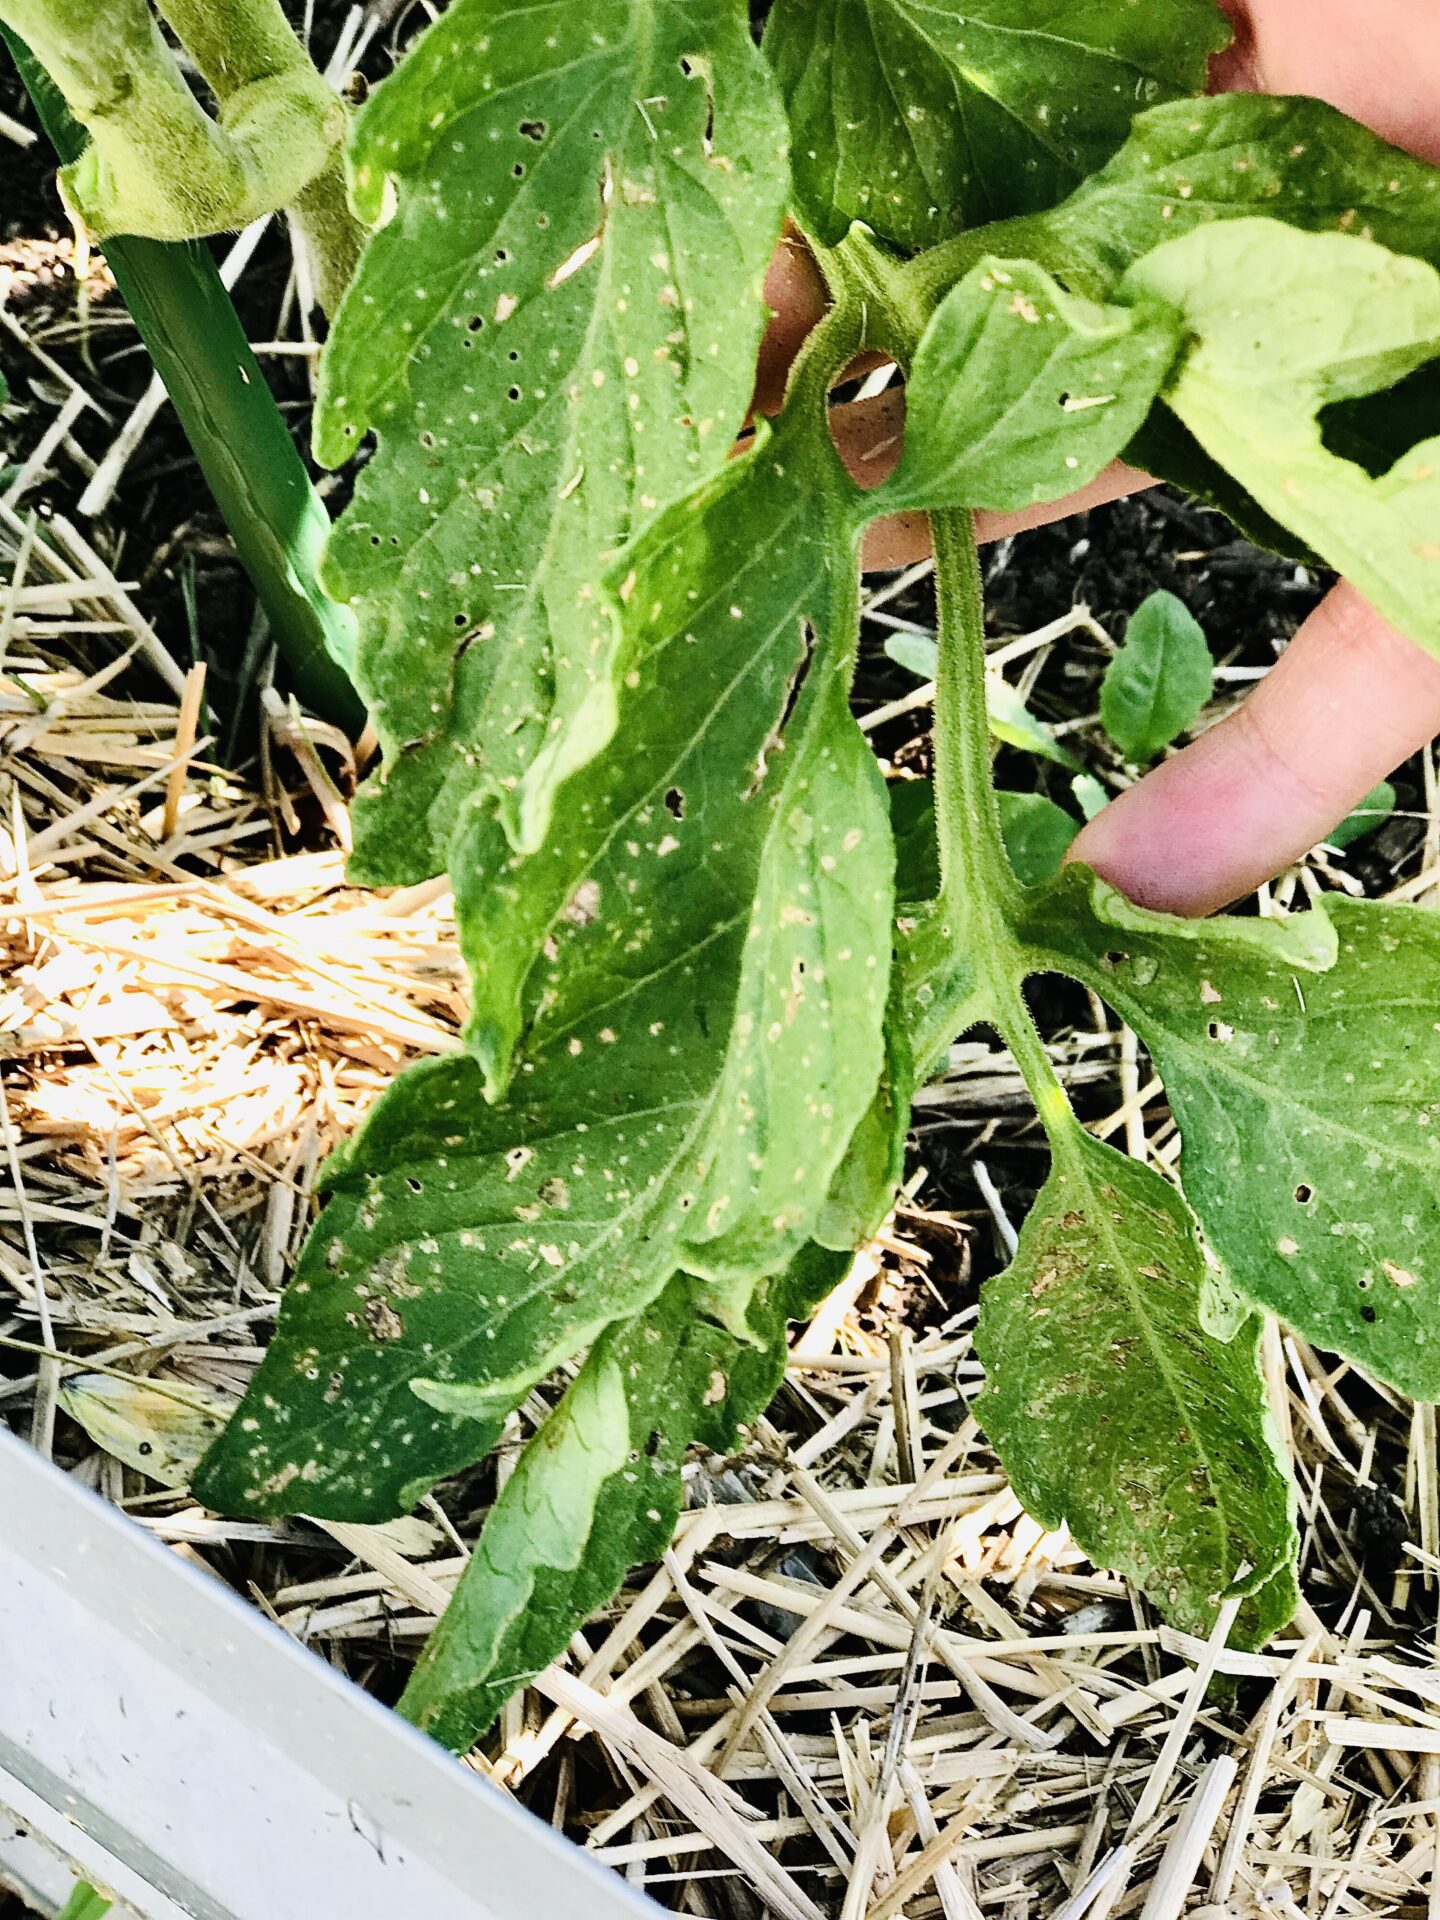
(See this leaf? The white spots indicate splash-back after watering)
First Thing First….
Before you start, you need to determine what type of tomato you are growing. If it’s an indeterminate, they NEED to be trellised and pruned. You can also be more vicious with your pruning as they will continually produce throughout the season.
Determinate varieties naturally bush. If you prune part of the stem that has the potential to fruit, you are losing part of your harvest. On these, you will want to prune below the flower cluster to avoid losing fruit.
Tools you will need:
Pruning Shears – while you can snap off branches with your hands, if not done correctly this can create long wounds on the plant. Pruning shears help provide a clean cut to prevent this from happening.
Gloves – Tomatoes develop a tar that will stubbornly cling to your hands for days. To prevent this, simply use gloves when pruning.
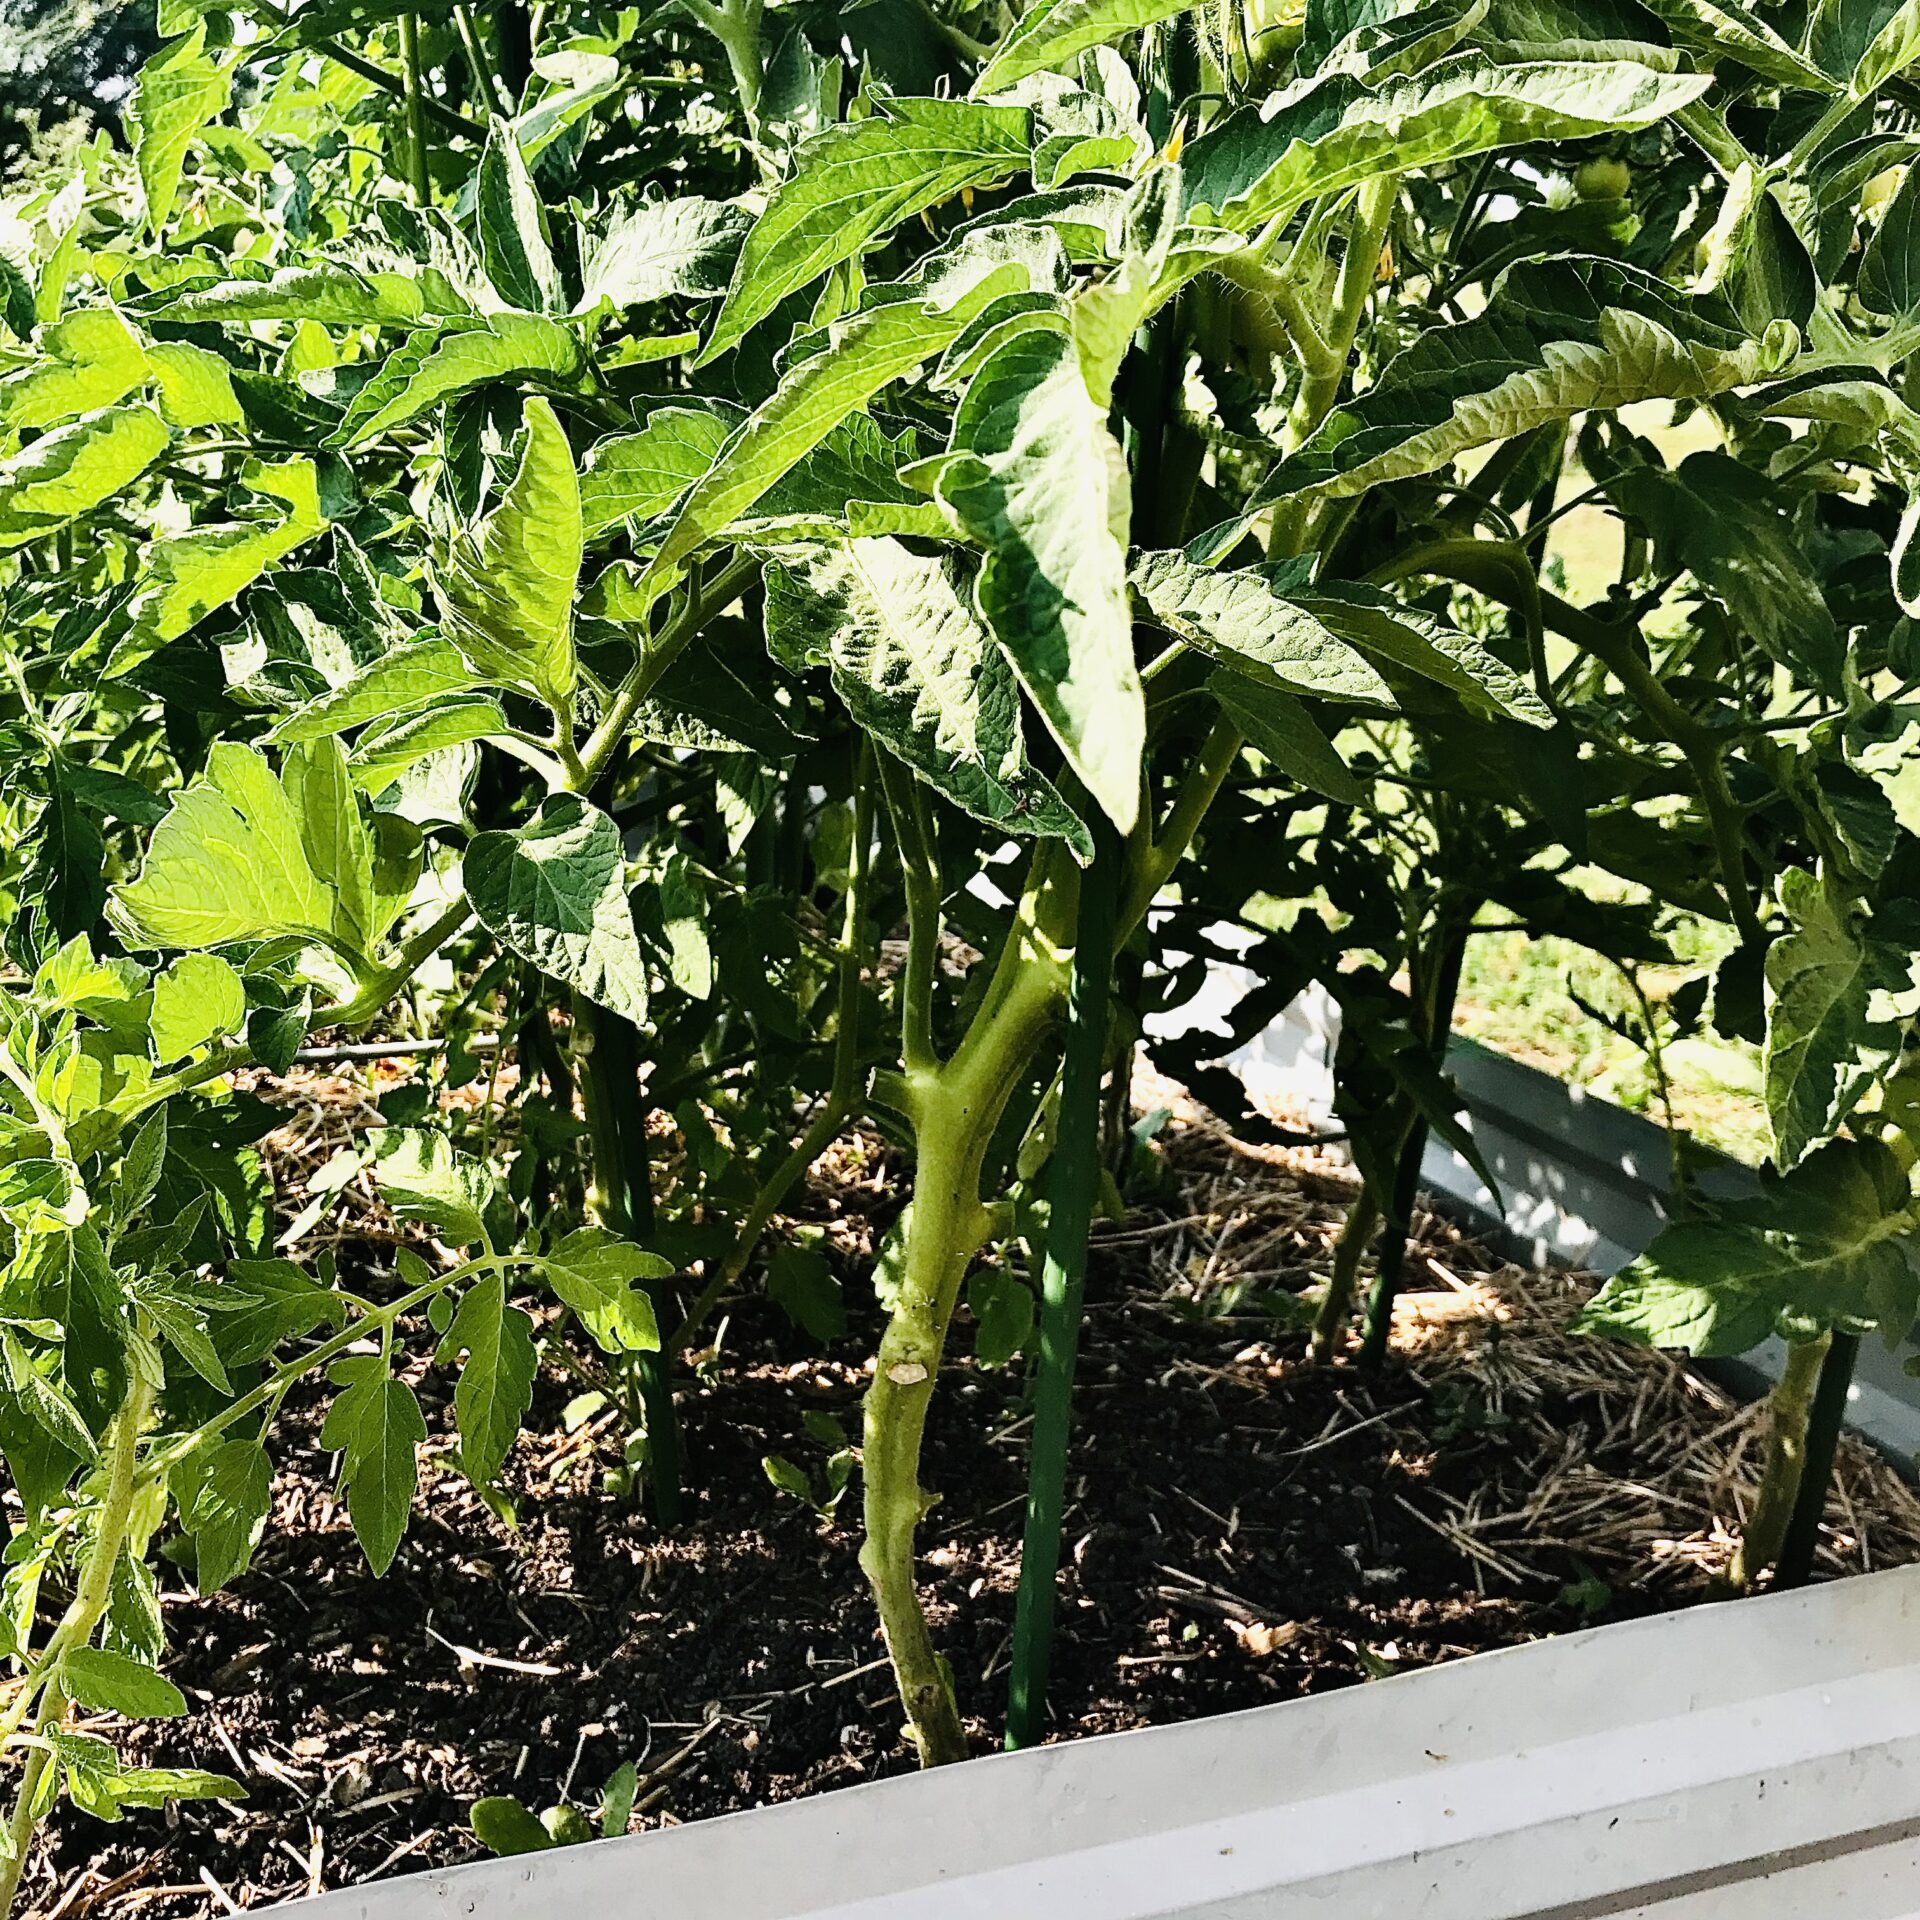
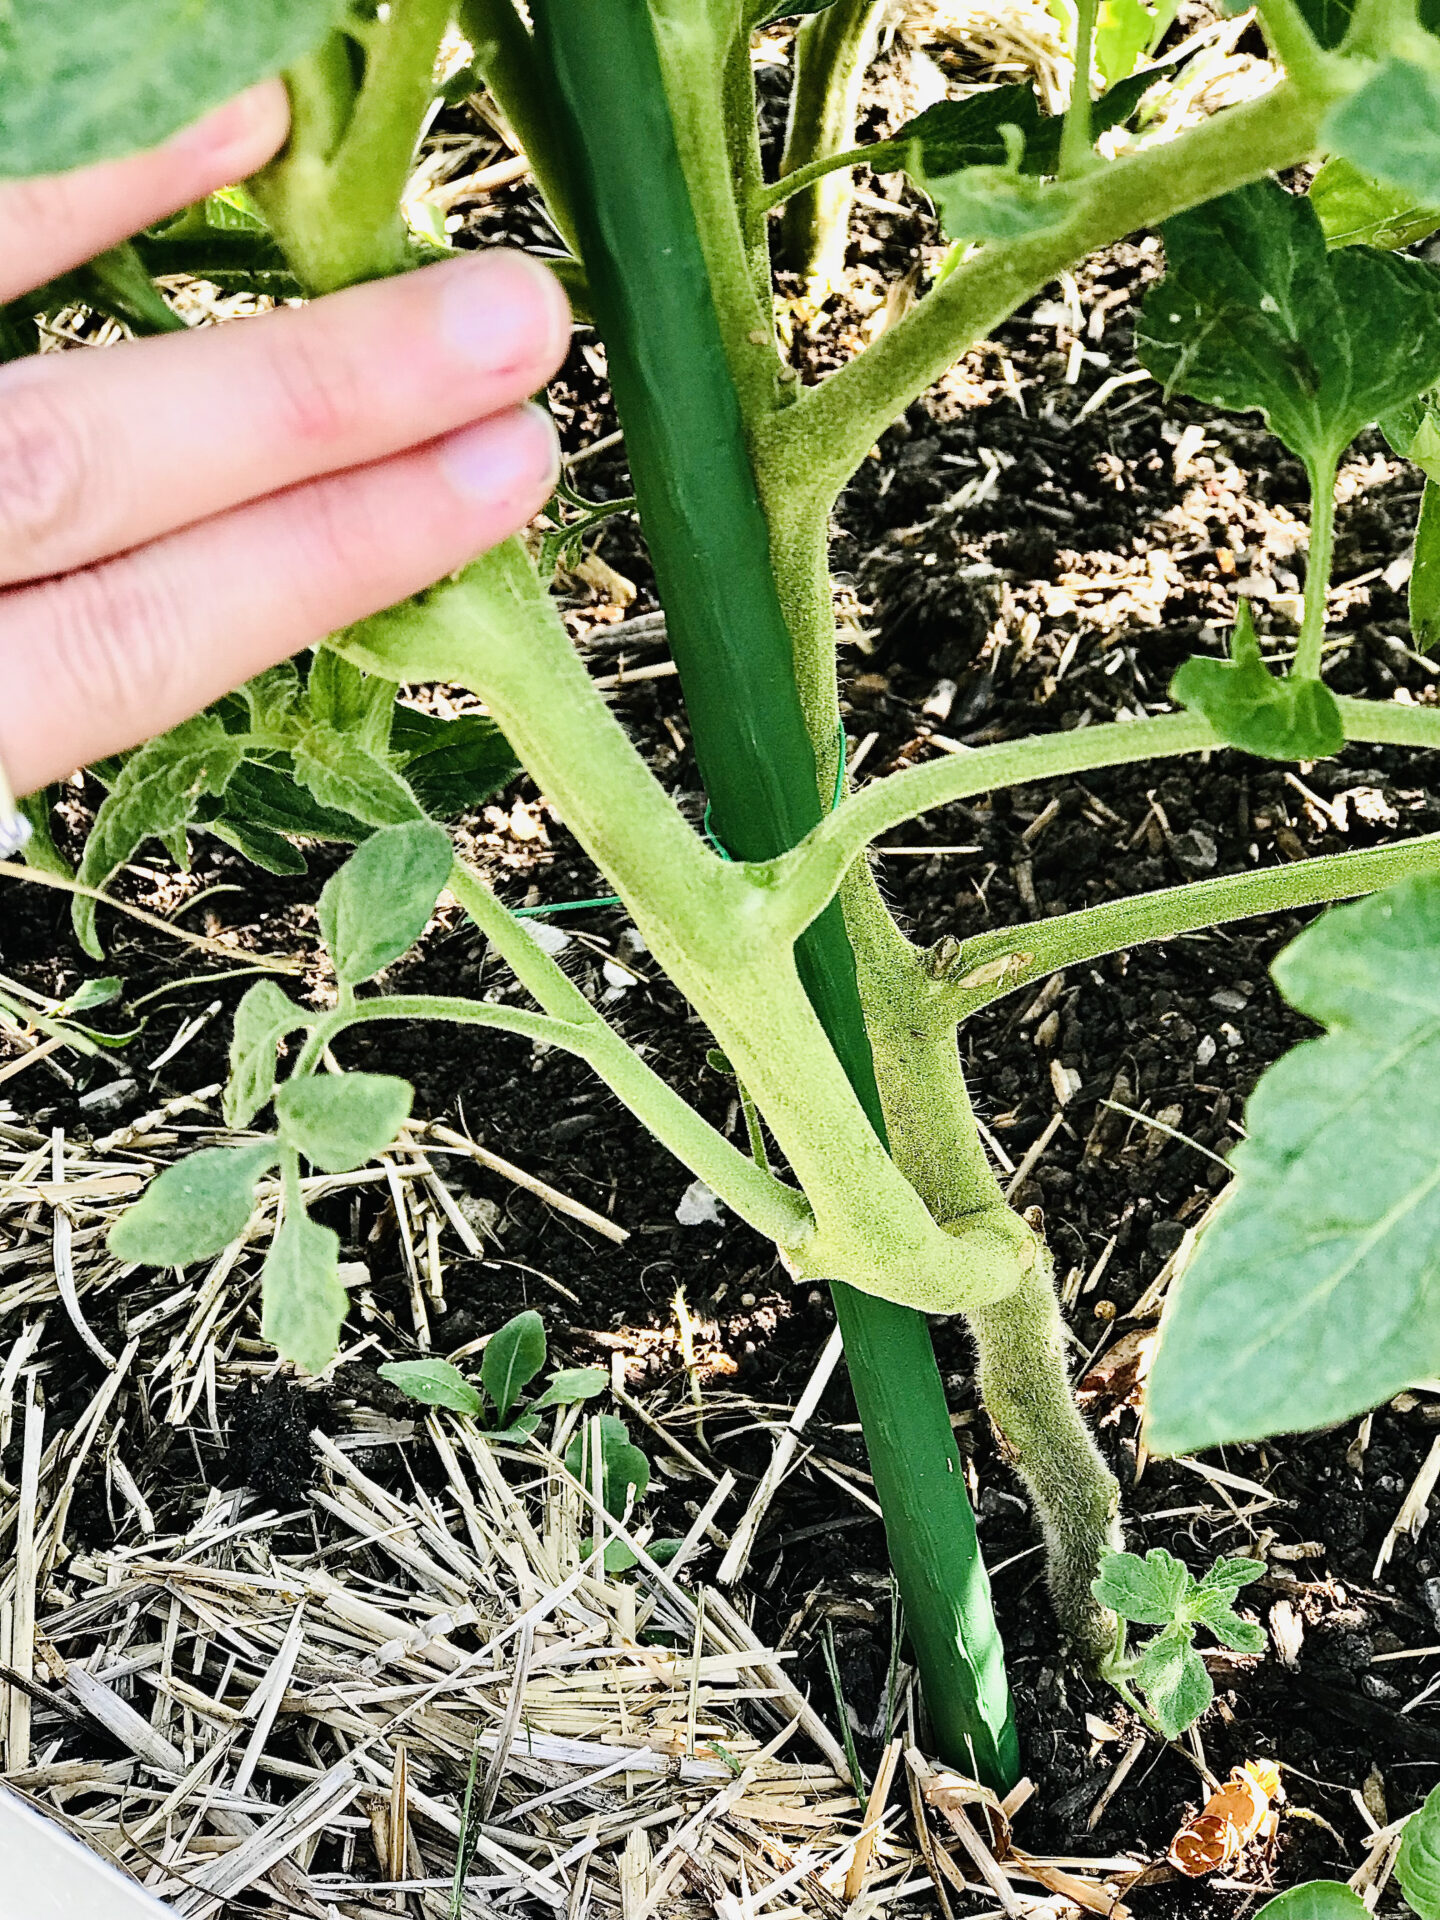
Step 1 – Stripping the base
Regardless if you are looking at a determinate or indeterminate tomato, it’s best to strip the base of your plant. I make sure to go up from the ground the first 18 inches and take off all the branches that are in danger of touching the ground.
This helps prevent water getting on the leaves which can lead to issues like blight. It also allows more of your plants resources to go to branches that have the potential to fruit.
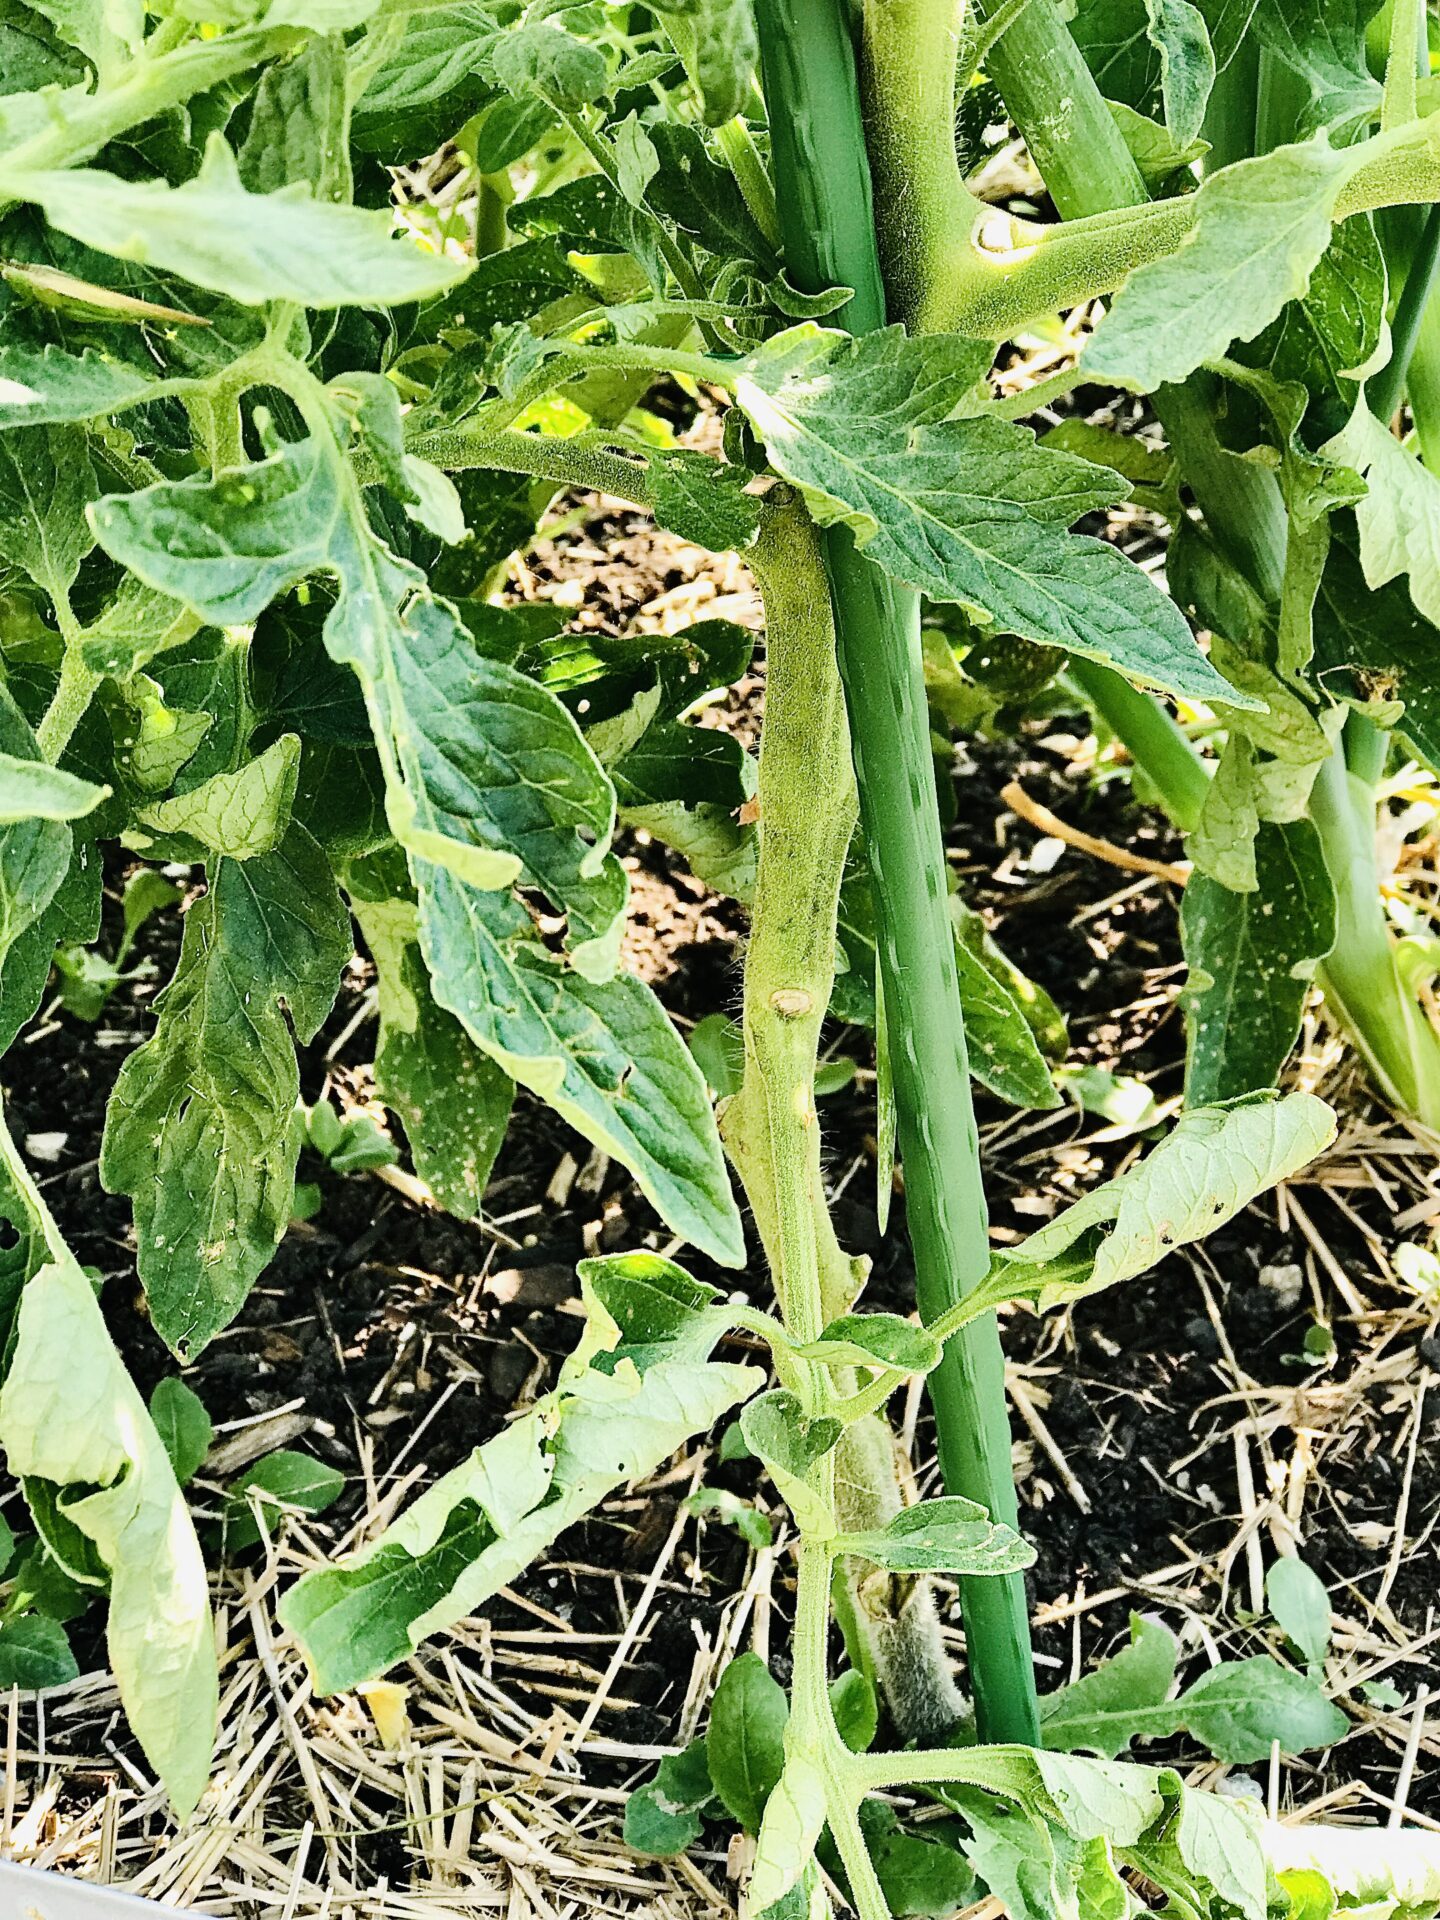
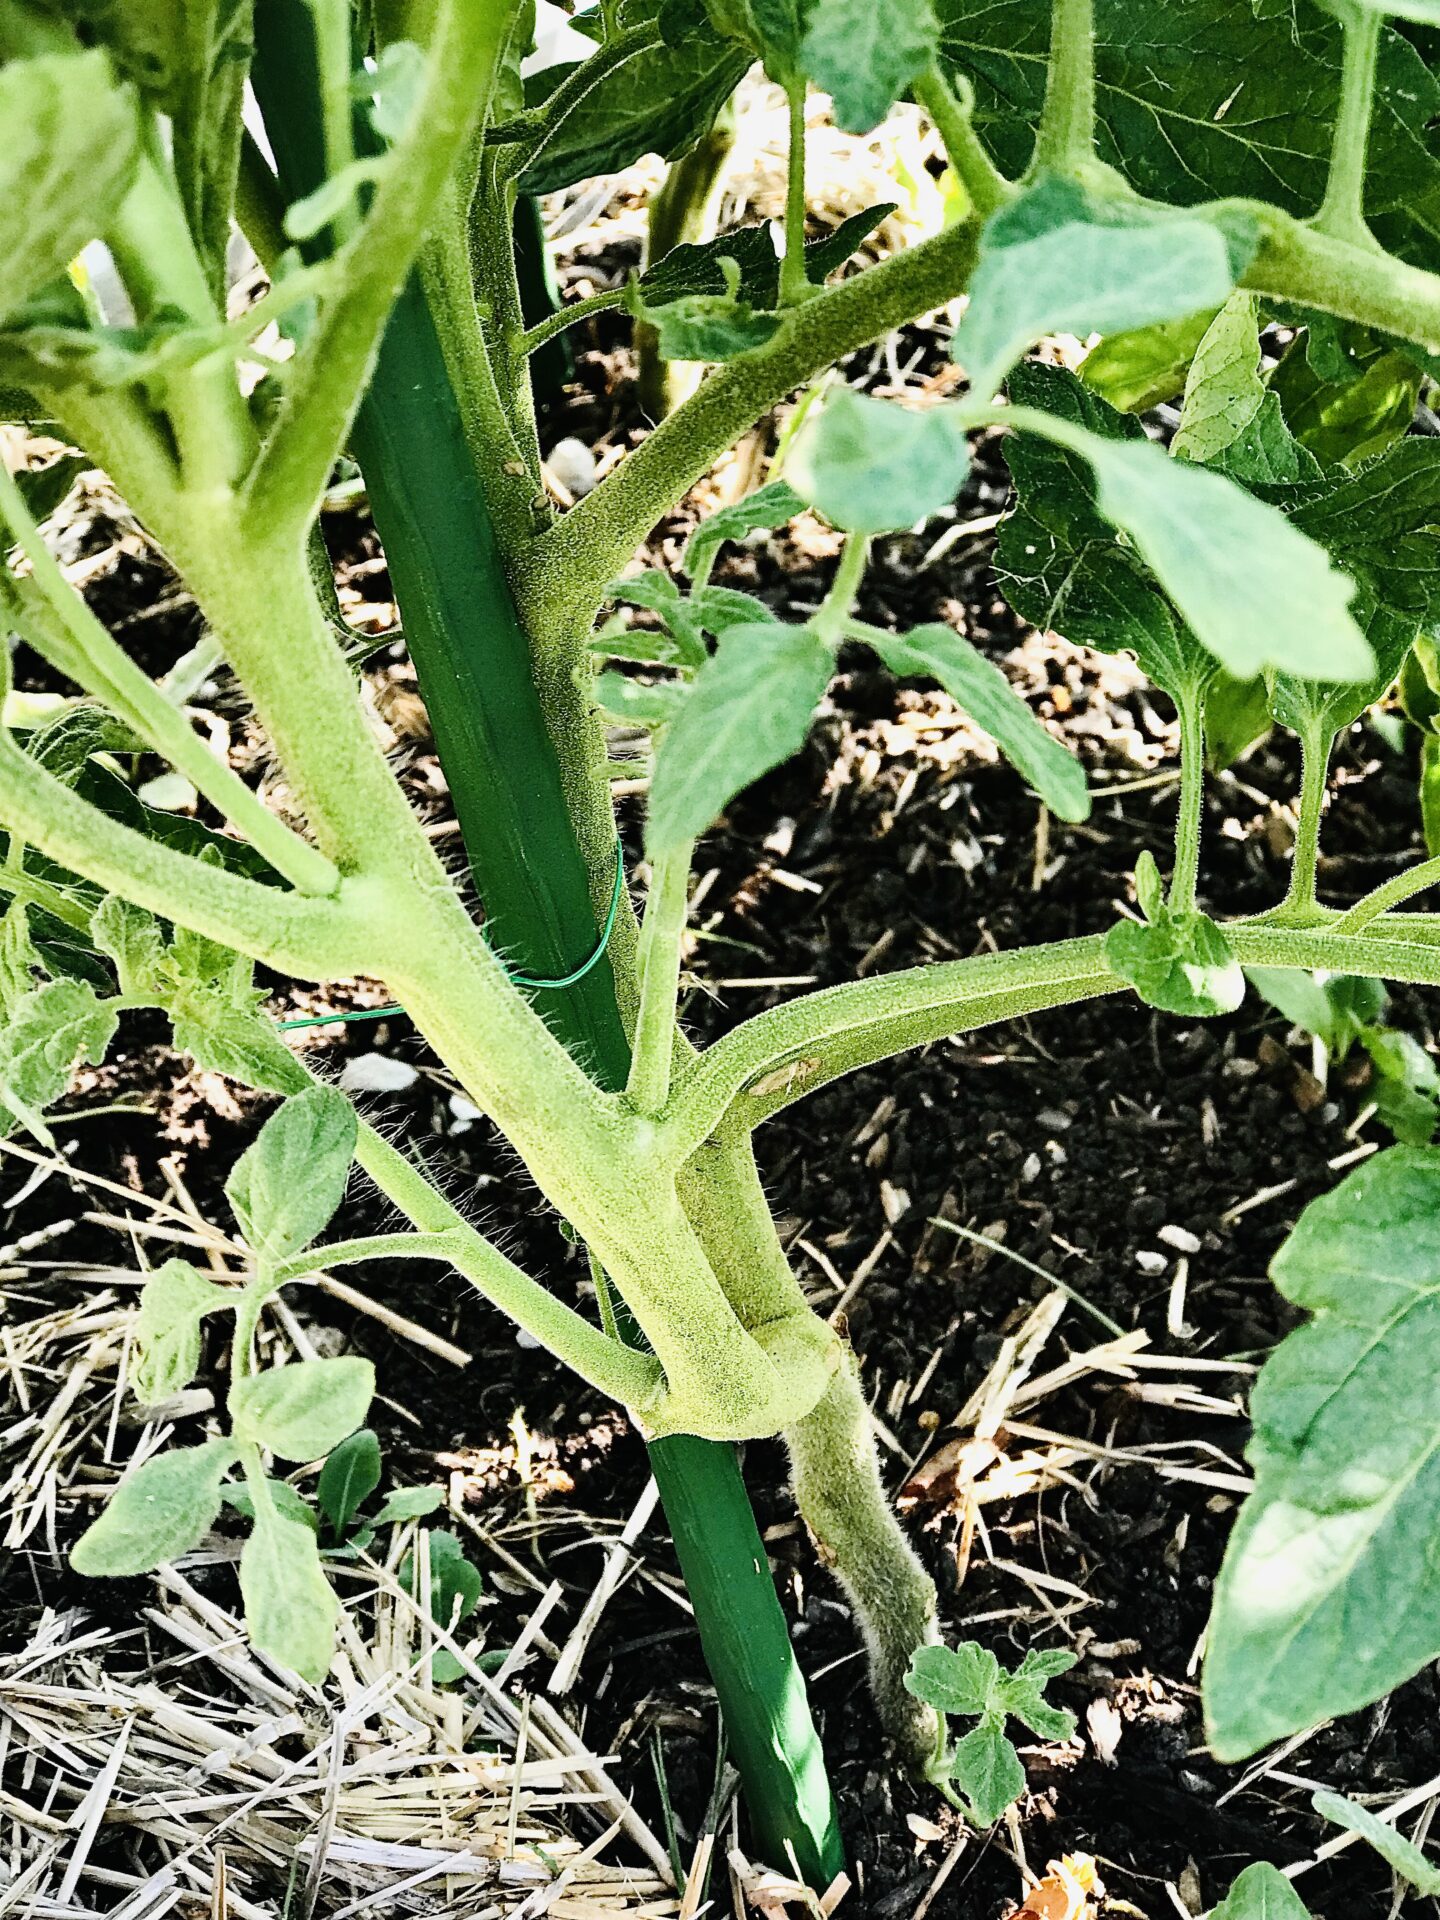
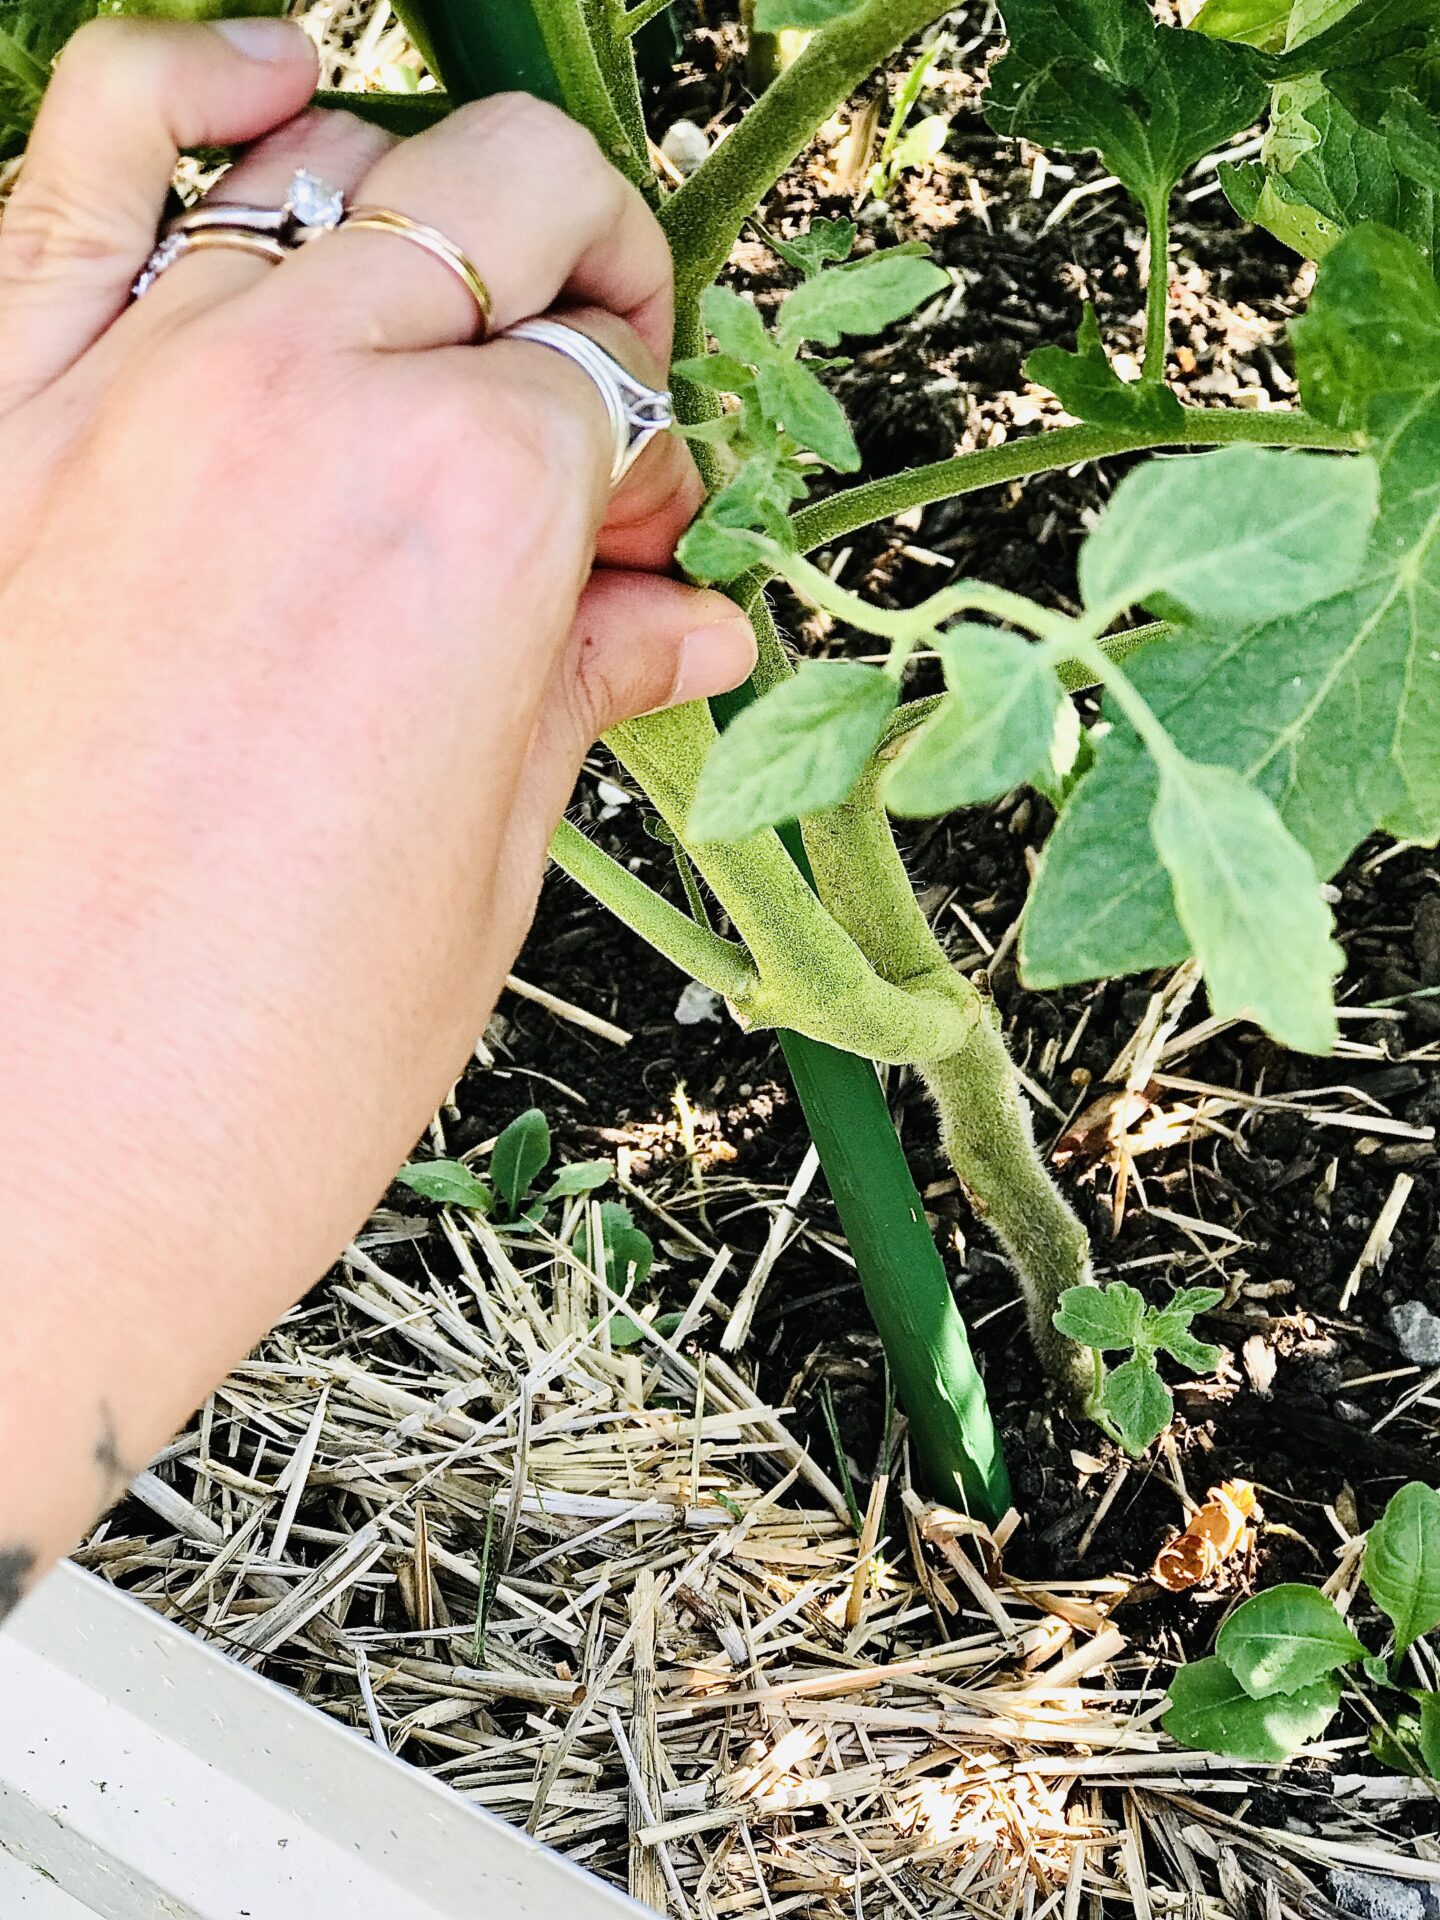
Step 2 – Removing the suckers
There are branches that form in the “armpit” of the plant referred to as “suckers”. These branches are non-producing. In fact, they are called “suckers” because they “suck” nutrients from the plant that could go towards fruit.
To take off the “suckers”, use pruning shears or your hands, grasp the base of the branch, and gently cut or bend until the branch disconnects. This is easier to do when the branch is smaller but can still be achieved if it grows to a larger size.
Ideally, it is best to use pruning shears so that you get a clean cut and don’t create a large wound. In high humidity areas, the wounds are slower to heal and this gives sickness the opportunity to take over your tomato plant.
Step 3 – Removing sick or yellow leaves
Sickness will easily spread throughout your tomato plant starting with one leaf. Sick leaves can often be identified as they will have “spots” or start yellowing. These leaves use up your plants resources which can stunt production.
Much like pruning a sucker, it is best to cut these leaves off using pruning shears or gently bend back and forth until the branch snaps.
What happens if I accidentally break off a stem?
It happens. Eventually most people are going to break the stem off of a plant by using their fingers to prune or by cutting the wrong branch.
Luckily, it is easy enough to root a sucker or stem by placing it in water. Just make sure that you put the sucker back outside to root or you will have to harden the sucker off before planting.
0

